
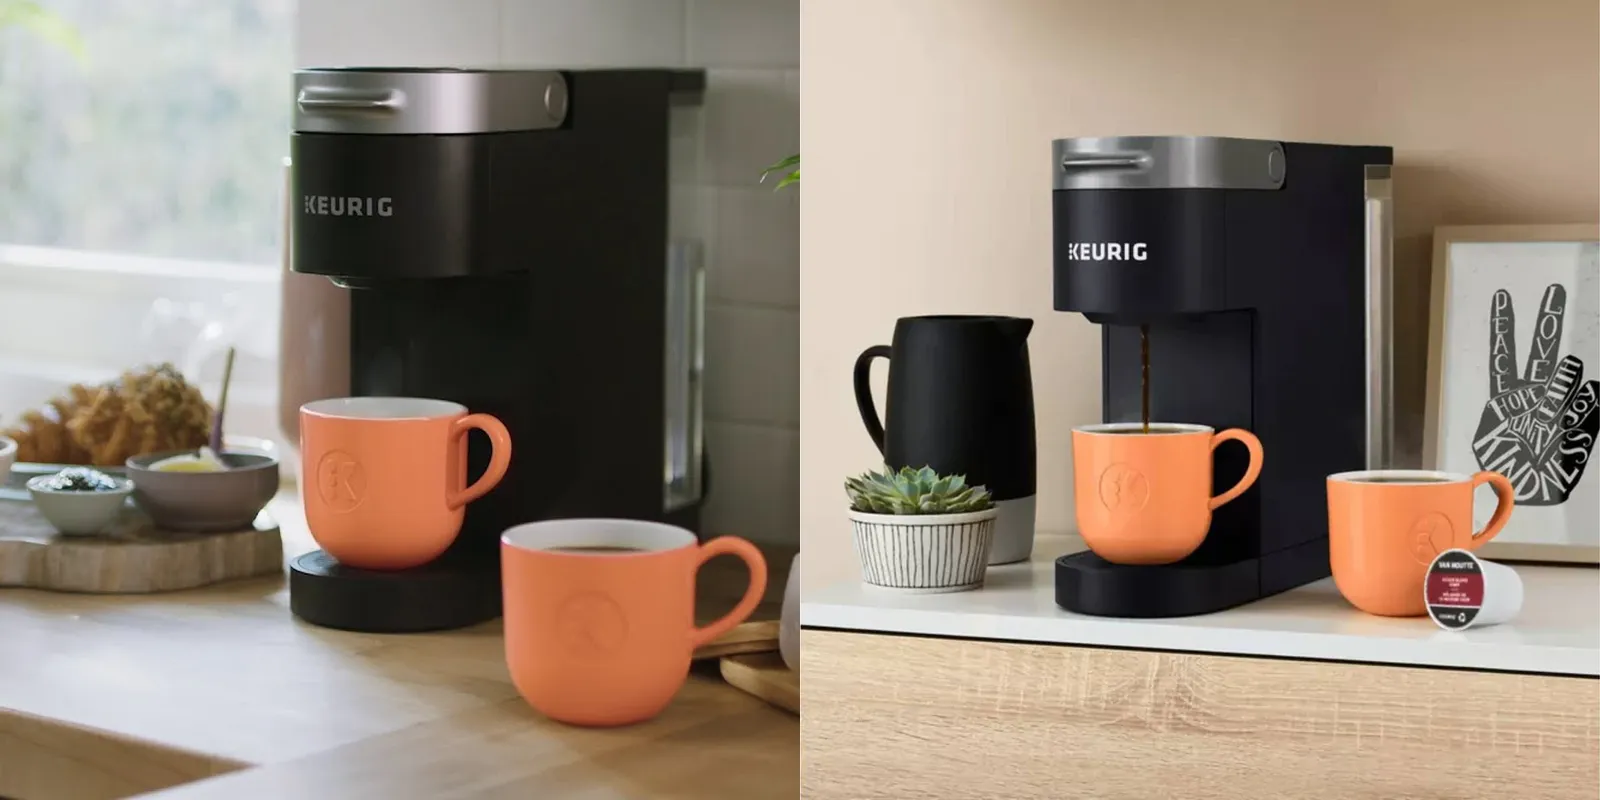
Are you facing the frustrating issue of your Keurig Slim brewer not turning on after descaling? Descaling is an essential maintenance task for any coffee maker, including the Keurig Slim. However, encountering difficulties in getting your machine to power up again after descaling can be quite perplexing. In this article, we will explore the possible reasons why your Keurig Slim won’t turn on after descaling and provide you with step-by-step solutions to get your brewer back in action.
The Reason Why Keurig Slim WON’t Turn On After Descaling
There can be several reasons why your Keurig Slim brewer fails to turn on after descaling. It’s important to identify the root cause to effectively troubleshoot the issue. Here are some potential reasons:
- Power Connectivity Issues: One common cause of a Keurig Slim not turning on after descaling is a power connectivity problem. Make sure the brewer is properly plugged into a functioning power outlet. Check if the power cord is securely connected to both the brewer and the outlet. Additionally, verify that the outlet is working by plugging in another device.
- Tripped Circuit Breaker: If your Keurig Slim brewer suddenly stopped working after descaling, it could be due to a tripped circuit breaker. Heavy electrical load during the descaling process may cause the breaker to trip, cutting off power to the machine. Locate the circuit breaker panel in your home and check if any breakers have been tripped. Reset the breaker if necessary.
- Faulty Power Button: Another possible reason for the Keurig Slim not turning on is a malfunctioning power button. Over time, continuous usage can wear out the power button mechanism, resulting in it becoming unresponsive. Inspect the power button for any signs of damage or wear. If needed, contact Keurig customer support for assistance in replacing the power button.
- Internal Component Issues: Internal component failures can also lead to a Keurig Slim not turning on after descaling. This could include a faulty circuit board, thermal fuse, or heating element. In such cases, it is recommended to contact Keurig’s customer support or a professional technician to diagnose and repair the internal components.
How To Make The Keurig Slim Turn On After Descaling
1. Power Cord
Ensure that the power cord is securely plugged into a working power outlet and connected properly to the Keurig Slim brewer. Check if there are any signs of damage on the power cord or if it needs replacement. Try unplugging the brewer, waiting for a few minutes, and then plugging it back in to see if it powers on.
2. The Heating Element
Inspect the heating element of the Keurig Slim. Over time, the heating element can become worn out or faulty. If you suspect that the heating element is the issue, it is recommended to contact Keurig’s customer service for guidance on how to replace it or if it can be repaired.
3. The Switch
Check the power switch of the Keurig Slim brewer. Ensure that it is in the correct position and not stuck or damaged. Try toggling the switch a few times to see if it makes a difference. If the switch is faulty, contacting Keurig’s customer service for assistance in replacing it may be necessary.
4. Clogging
Sometimes, clogs or blockages in the brewer can prevent it from turning on after descaling. To address this, try running water through the machine without a coffee pod to flush out any remaining descaling solution or debris. Clean the brewer’s needle and other removable parts as per the manufacturer’s instructions to ensure proper water flow.
5. The Thermostat
The thermostat plays a crucial role in regulating the temperature of the Keurig Slim. If the thermostat is faulty or not functioning correctly, it can prevent the brewer from turning on. Unfortunately, thermostat issues generally require professional repair or replacement, so it is advisable to contact Keurig’s customer service for guidance.
6. The Control Board
If none of the above steps resolve the issue, there might be a problem with the control board of the Keurig Slim. The control board manages the various functions of the brewer. If the control board is defective, it may need to be replaced. Contact Keurig’s customer service for further assistance in diagnosing and resolving control board issues.
7. Reset The Keurig Keurig Machine
Performing a reset can often resolve minor glitches. Consult the user manual or Keurig’s website for instructions on how to reset your specific model of the Keurig Slim brewer. Typically, the reset process involves unplugging the machine, waiting for a specific period, and then plugging it back in.
8. Contact the Keurig Customer Service
If all else fails, contacting Keurig’s customer service is the best course of action. They have trained representatives who can provide specialized troubleshooting steps for your specific issue. They can guide you through the process and may be able to offer a solution or recommend further steps for repair or replacement if necessary. Remember, for any electrical or internal component issues, it is always best to seek professional help or guidance from the manufacturer’s customer service.
FAQs
How often should I descale my Keurig Slim brewer?
Descaling your Keurig Slim brewer is an important maintenance task that helps remove mineral deposits and scale buildup that can affect the performance and taste of your coffee. The frequency of descaling depends on the quality of water in your area and the level of usage. As a general guideline, it is recommended to descale your Keurig Slim every 3 to 6 months.
However, if you live in an area with hard water, which contains high levels of minerals, you may need to descale more frequently. Signs that indicate it’s time to descale your brewer include longer brew
What can I do if my Keurig descale light won’t turn off?
- Restart the Machine: Sometimes, a simple restart can resolve the problem. Turn off your Keurig brewer, unplug it from the power outlet, wait for a few minutes, and then plug it back in. Turn on the machine and check if the descale light has turned off.
- Check Water Reservoir: Ensure that the water reservoir is properly seated and filled with water. If the reservoir is not positioned correctly or is empty, it can cause the descale light to remain illuminated. Remove the reservoir, reinsert it firmly, and ensure it has an adequate water level.
- Run Water Through the Brewer: Fill the water reservoir with fresh water and run several brew cycles without a coffee pod. This process helps to flush out any remaining descaling solution that might be causing the descale light to stay on. Repeat the brewing cycles until the descale light turns off.
- Perform a Factory Reset: If none of the above steps work, you can try performing a factory reset on your Keurig brewer. The process may vary depending on the model, so consult the user manual or Keurig’s official website for specific instructions on how to perform a factory reset.
How can I descale my Keurig?
- Prepare the Descaling Solution
- Empty the Water Reservoir
- Fill the Water Reservoir
- Run the Descaling Cycle
- Rinse the Brewer
- Run Rinse Cycles
- Clean External Components
What should I do before descaling my Keurig?
- Read the User Manual: Familiarize yourself with the specific descaling instructions provided by Keurig for your particular model. The user manual will provide you with important details and any model-specific recommendations for descaling.
- Gather Necessary Materials: Purchase a descaling solution that is compatible with Keurig coffee makers. Check the user manual or Keurig’s website for recommended descaling solutions. Additionally, ensure you have a large mug or container to collect the descaling solution and rinse water.
- Check Water Reservoir and Remove Coffee Pods: Make sure the water reservoir is clean and free from any debris. Remove any coffee pods from the brewer before starting the descaling process.
- Empty and Clean Drip Tray: Remove the drip tray and clean it thoroughly. Dispose of any collected liquid or debris.
- Check Power and Connectivity: Ensure that your Keurig brewer is plugged into a functioning power outlet and that the power cord is securely connected to the machine.
Is there any other way to turn off the Keurig descale light?
In most cases, following the descaling process as recommended by Keurig should turn off the descale light on your coffee maker. However, if the descale light remains illuminated, you can try the following alternative method to turn it off:
- Unplug the Brewer: Turn off your Keurig coffee maker and unplug it from the power outlet. Allow it to remain unplugged for at least 24 hours. This extended period of time without power can sometimes reset the internal sensors and turn off the descale light when you plug it back in.
- Contact Keurig Customer Support: If the descale light persists after trying the above steps, it is advisable to reach out to Keurig’s customer support. They will be able to provide specific guidance and troubleshoot the issue further.
How often should I descale my Keurig?
The frequency of descaling your Keurig coffee maker depends on various factors, such as the quality of the water in your area and the level of usage. As a general guideline, it is recommended to descale your Keurig every 3 to 6 months.
However, if you live in an area with hard water, which contains high levels of minerals, you may need to descale more frequently. Signs that indicate it’s time to descale your brewer include longer brew times, reduced water flow, or a change in the taste of your coffee.
Conclusion
By following the troubleshooting steps outlined in this guide, you should be able to overcome the issue of your Keurig Slim not turning on after descaling. Remember to exercise caution and ensure that you adhere to the manufacturer’s instructions while performing any maintenance tasks. Regular descaling, along with proper care and maintenance, will help keep your Keurig Slim brewer running smoothly, ensuring you can continue to enjoy your favorite cup of coffee without any interruptions.