
What happens when the Add Water light doesn’t turn off or the machine stops working altogether? It can be frustrating to deal with, but fortunately, there are several common causes and solutions to this problem. In this article, we will explore four causes of Keurig Add Water light stays on or the machine not working, and provide you with seven different ways to fix this issue and get your Keurig back to brewing your favorite beverages.
Causes Of Keurig’s Add Water Light Stay ON or Not Working
The Floater In The Water Reservoir Is Stuck
The Keurig machine has a float inside the water reservoir that detects the water level. If this float gets stuck, it may not accurately detect the water level, causing the Add Water light to stay on or the machine not to work.
Clean The Water Reservoir
Over time, mineral deposits and debris can build up in the water reservoir, affecting its performance. If the reservoir is not cleaned regularly, it can cause the Add Water light to stay on or the machine to malfunction.
Air Stuck In The Overflow Tube
Sometimes, air can get trapped in the overflow tube, which is connected to the water reservoir. This can prevent proper water flow and trigger the Add Water light. It is important to ensure that there is no air stuck in the overflow tube.
There Is Too Much Air And Dirt In The Tubes
If there is excessive air or dirt in the tubes that carry the water from the reservoir to the brewer, it can disrupt the flow and trigger the Add Water light. Regular cleaning and maintenance are crucial to prevent this issue.
How To Fix Keurig’s ADD WATER Light Problems
Set Water Tank
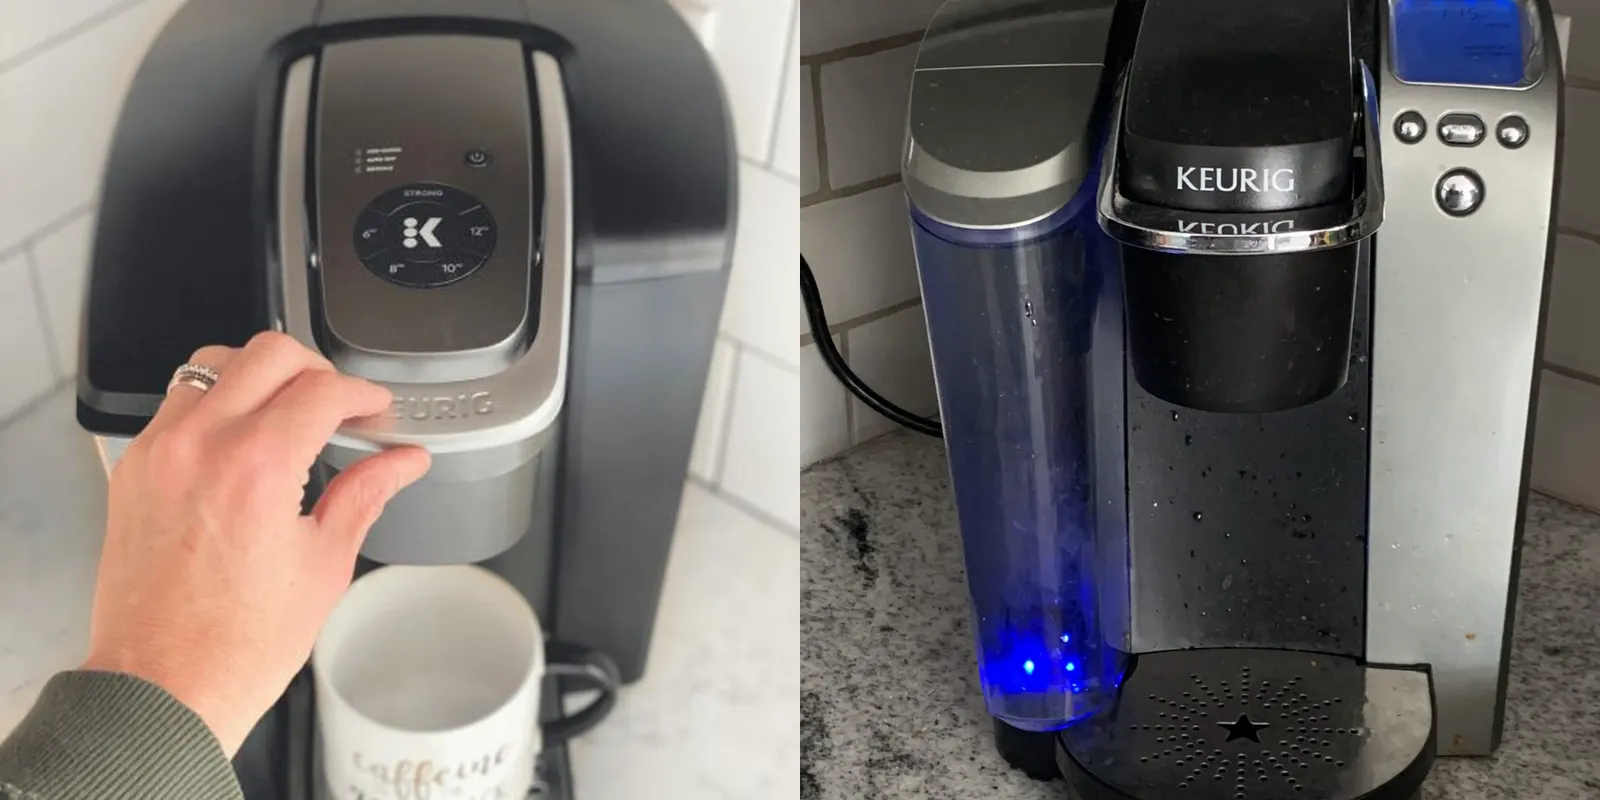
Ensure that the water tank is properly set in its place. Sometimes, if it is not aligned correctly, it can trigger the Add Water light. Remove and reinsert the water tank to ensure a secure fit.
Clean The Reservoir Valve
If the float is stuck, causing the Add Water light to stay on, clean the reservoir valve thoroughly. Use a damp cloth or a brush to remove any debris or mineral deposits that may be causing the float to get stuck.
Run Descale Cycle
Descale your Keurig machine regularly to remove any mineral build-up. Follow the manufacturer’s instructions on how to run a descale cycle to ensure a clean and functioning machine.
Issue With Water Filter
If your Keurig has a water filter, make sure it is properly installed and not clogged. A clogged water filter can interfere with the water flow, triggering the Add Water light. Replace the filter if necessary.
Reset The Brewer
Sometimes, a simple reset can fix the Add Water light issue. Unplug your Keurig machine, wait for a few minutes, and then plug it back in. This can reset any minor glitches or malfunctions.
Clear Possible Air Lock
Air can get trapped in the water line, causing the “ADD WATER” light to stay on. To clear any airlocks, remove the water tank, turn the brewer off, tilt it upside down for a few seconds, and then return it to the upright position. Reinsert the water tank and see if the issue is resolved.
Replace The Sensor
If all else fails, and none of the above steps resolve the issue, there may be a problem with the sensor that detects the water level. In such cases, it is advisable to contact Keurig Customer Service or a professional technician for assistance.
FAQs
Why wont the add water light go off on my Keurig?
The add water light on your Keurig may not go off for several reasons. It could be due to a malfunction in the sensor that detects the water level, or it could be caused by a blockage or air bubble in the water line. To resolve this issue, try cleaning the water reservoir and making sure it is properly seated in its housing. If the problem persists, contact Keurig customer support for further assistance.
How do you reset the water reservoir on a Keurig?
To reset the water reservoir on a Keurig, first, remove the water reservoir from the machine. Empty any remaining water from it and ensure that there is no debris or blockage. Then, reattach the water reservoir firmly by aligning it correctly in its housing and pushing it in until it clicks into place. Finally, restart your Keurig and check if the water reservoir is properly recognized.
Why won’t my Keurig recognize the water?
There can be several reasons why your Keurig won’t recognize the water.
- First, ensure that the water reservoir is properly attached and seated in its housing.
- Make sure there are no blockages or debris in the water line or the magnetic sensor area.
- Check if the water reservoir is clean and free of any mineral deposits.
- If the issue persists, try unplugging your Keurig for a few minutes and then plug it back in to reset it.
- If none of these steps work, it might be a faulty sensor, and you should contact Keurig customer support for further assistance.
Why is the add water light flashing on my Keurig coffee maker?
The flashing add water light on your Keurig usually indicates that the water level is below the minimum required amount. This could be due to an empty or improperly seated water reservoir, or a blockage in the water line preventing water from flowing into the machine.
- First, check that the water reservoir is properly attached and filled with enough water.
- Ensure there are no blockages in the water line or mineral deposits hindering water flow.
- If the issue persists, try resetting your Keurig by unplugging it for a few minutes and then plugging it back in.
- If the problem continues, contact Keurig customer support for further assistance.
Conclusion
By following the steps outlined above, you can troubleshoot and fix the Add Water light problem in your Keurig coffee maker. Remember to regularly clean and maintain your machine to prevent any potential issues. If you have tried all the suggested solutions and the problem persists, it is recommended to reach out to Keurig’s customer service or seek assistance from a professional technician.